Once configured, SPF records can be verified by email servers that incorporate SPF verification in their anti-spam measures.
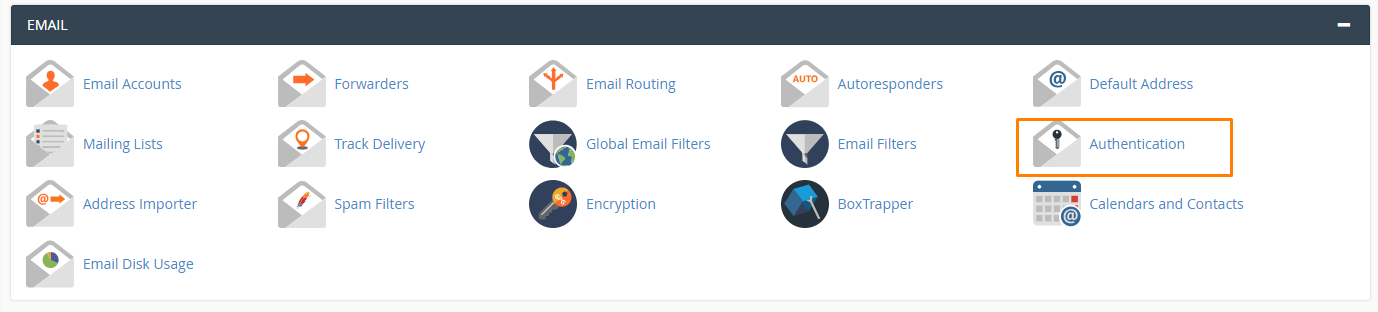
Scroll down to the Email section and select Authentication.
Check your SPF status. If SPF is disabled, click the Enable button to activate.
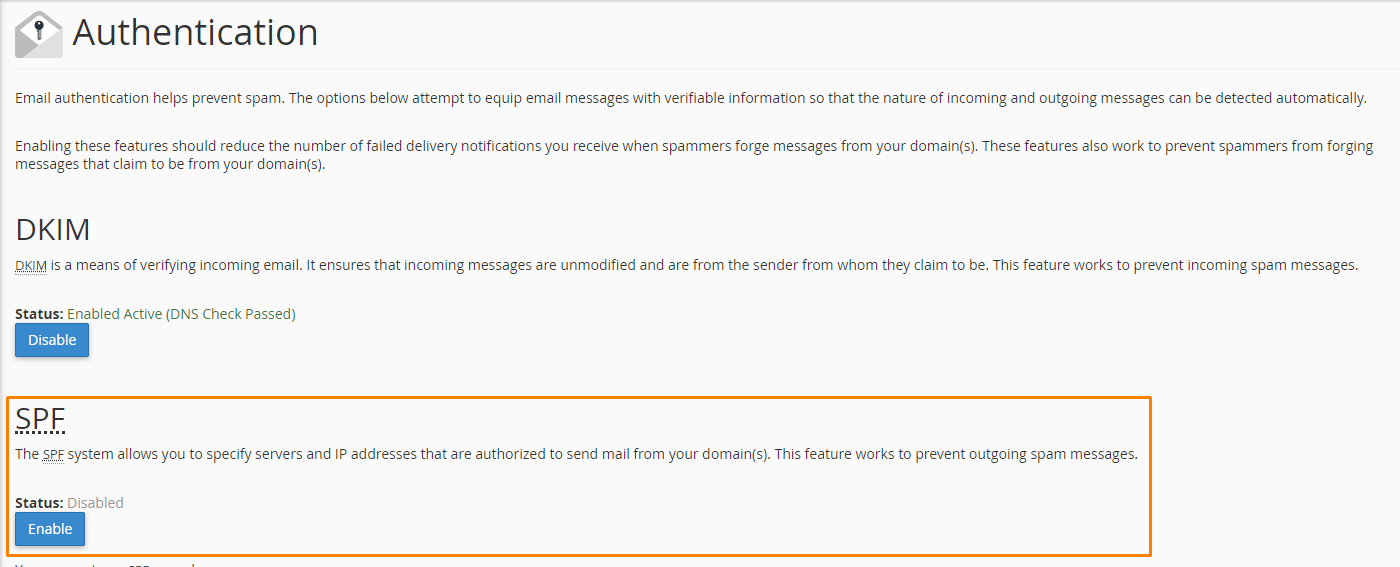
A default SPF record will be created for your domain. You should now proceed to create an additional SPF record for the specific email service you are using.
Return to the My cPanel menu, and select Domains > Zone Editor.

Now click Manage.

Click the arrow next to the Add Record button and select Add TXT Record from the dropdown menu.

In the Name field, enter your domain name with a trailing period at the end.
Click Add Record to save your settings.
